press Enter to searchSearch results:No products found.
A Quick Guide to Edit Avelina Studio Mockups
Editing our mockups is simple and fast, and this guide will walk you through the basic steps in Photoshop and Photopea so you can place your design in just a few minutes. Almost all Avelina Studio mockups go beyond the basics: in addition to Smart Objects, you’ll find well-organized layers for colors, lighting and shadows, giving you full creative control to customize every detail.
Editing with Photoshop
Most of our mockups are created for Adobe Photoshop. Using Photoshop ensures full compatibility with Smart Objects, making editing fast, accurate, and non-destructive.
Step 01: Open the mockup file
Unzip your download and open the .psd file in Photoshop. This is the editable mockup.
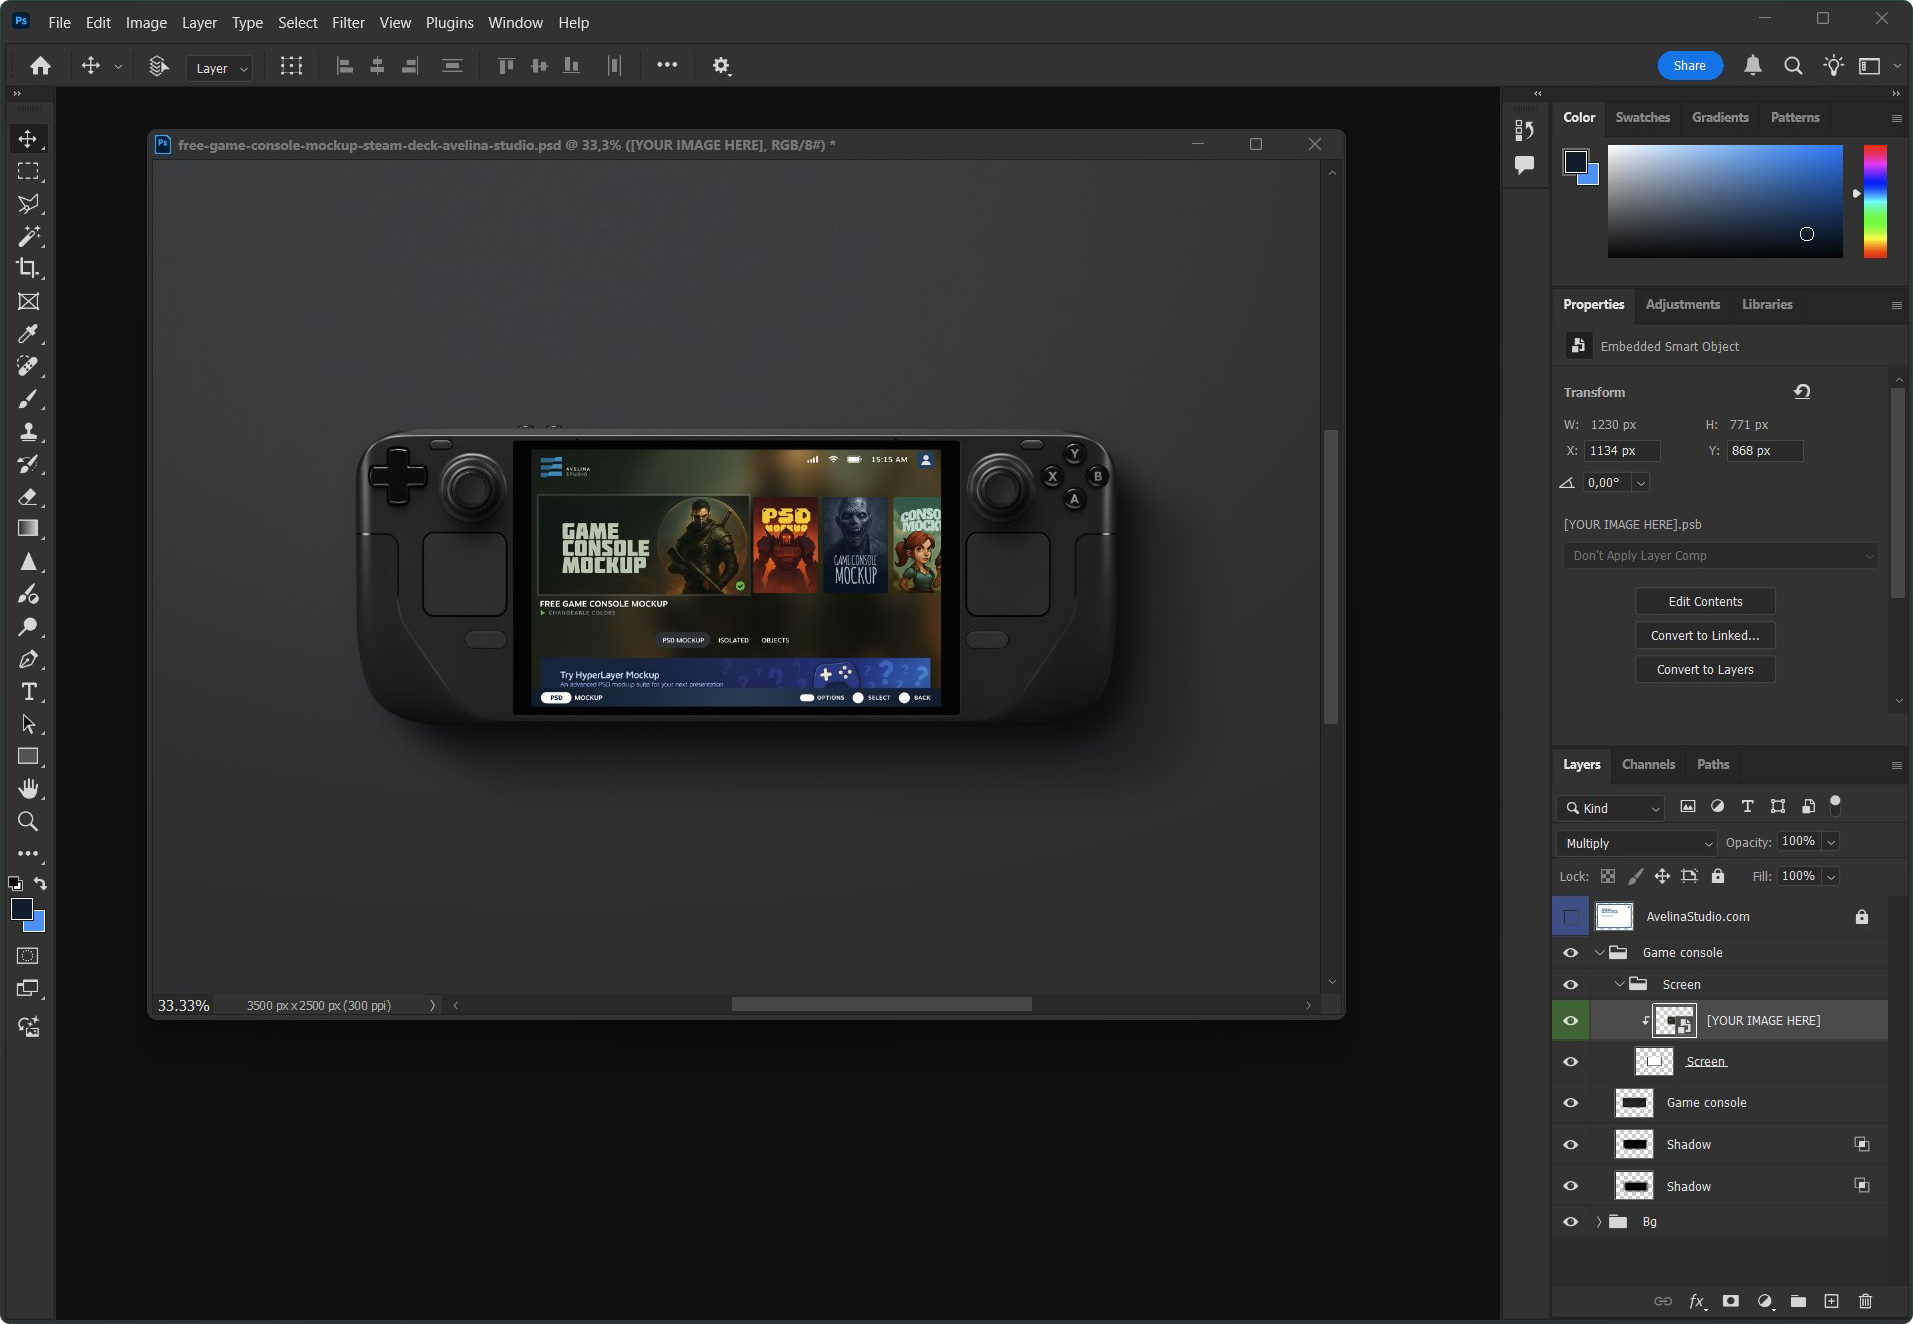
Step 02: Edit the Smart Object
In the Layers panel, locate the layer labeled “YOUR IMAGE HERE”. Double-click its thumbnail to open the Smart Object in a new tab.
Delete or hide the placeholder, then drag in your own design. Resize and position it as needed, then press Enter. Save the Smart Object (File > Save).
Step 03: See the result
Go back to the main mockup tab. Your design is now applied with perspective, lights, and shadows.
Step 04: Export your mockup
When you’re satisfied with the result, save an editable copy of the file as .psd so you can return and make changes later if needed. Then export a final image for use in your project. Choose .jpg for standard images or .png
> Please Note:
This is the basic workflow. Almost all Avelina Studio mockups also include organized layers to adjust background colors, lights and shadows, so you can refine the scene exactly the way you want.
Editing with Photopea
If you don’t have Photoshop, you can use Photopea, a free browser-based editor that supports Smart Objects. The process is almost identical to Photoshop.
Step 01: Open the mockup file
Go to Photopea in your browser. Click File > Open and select the .psd mockup you downloaded from Avelina Studio. The mockup will open directly in your browser, no installation required.
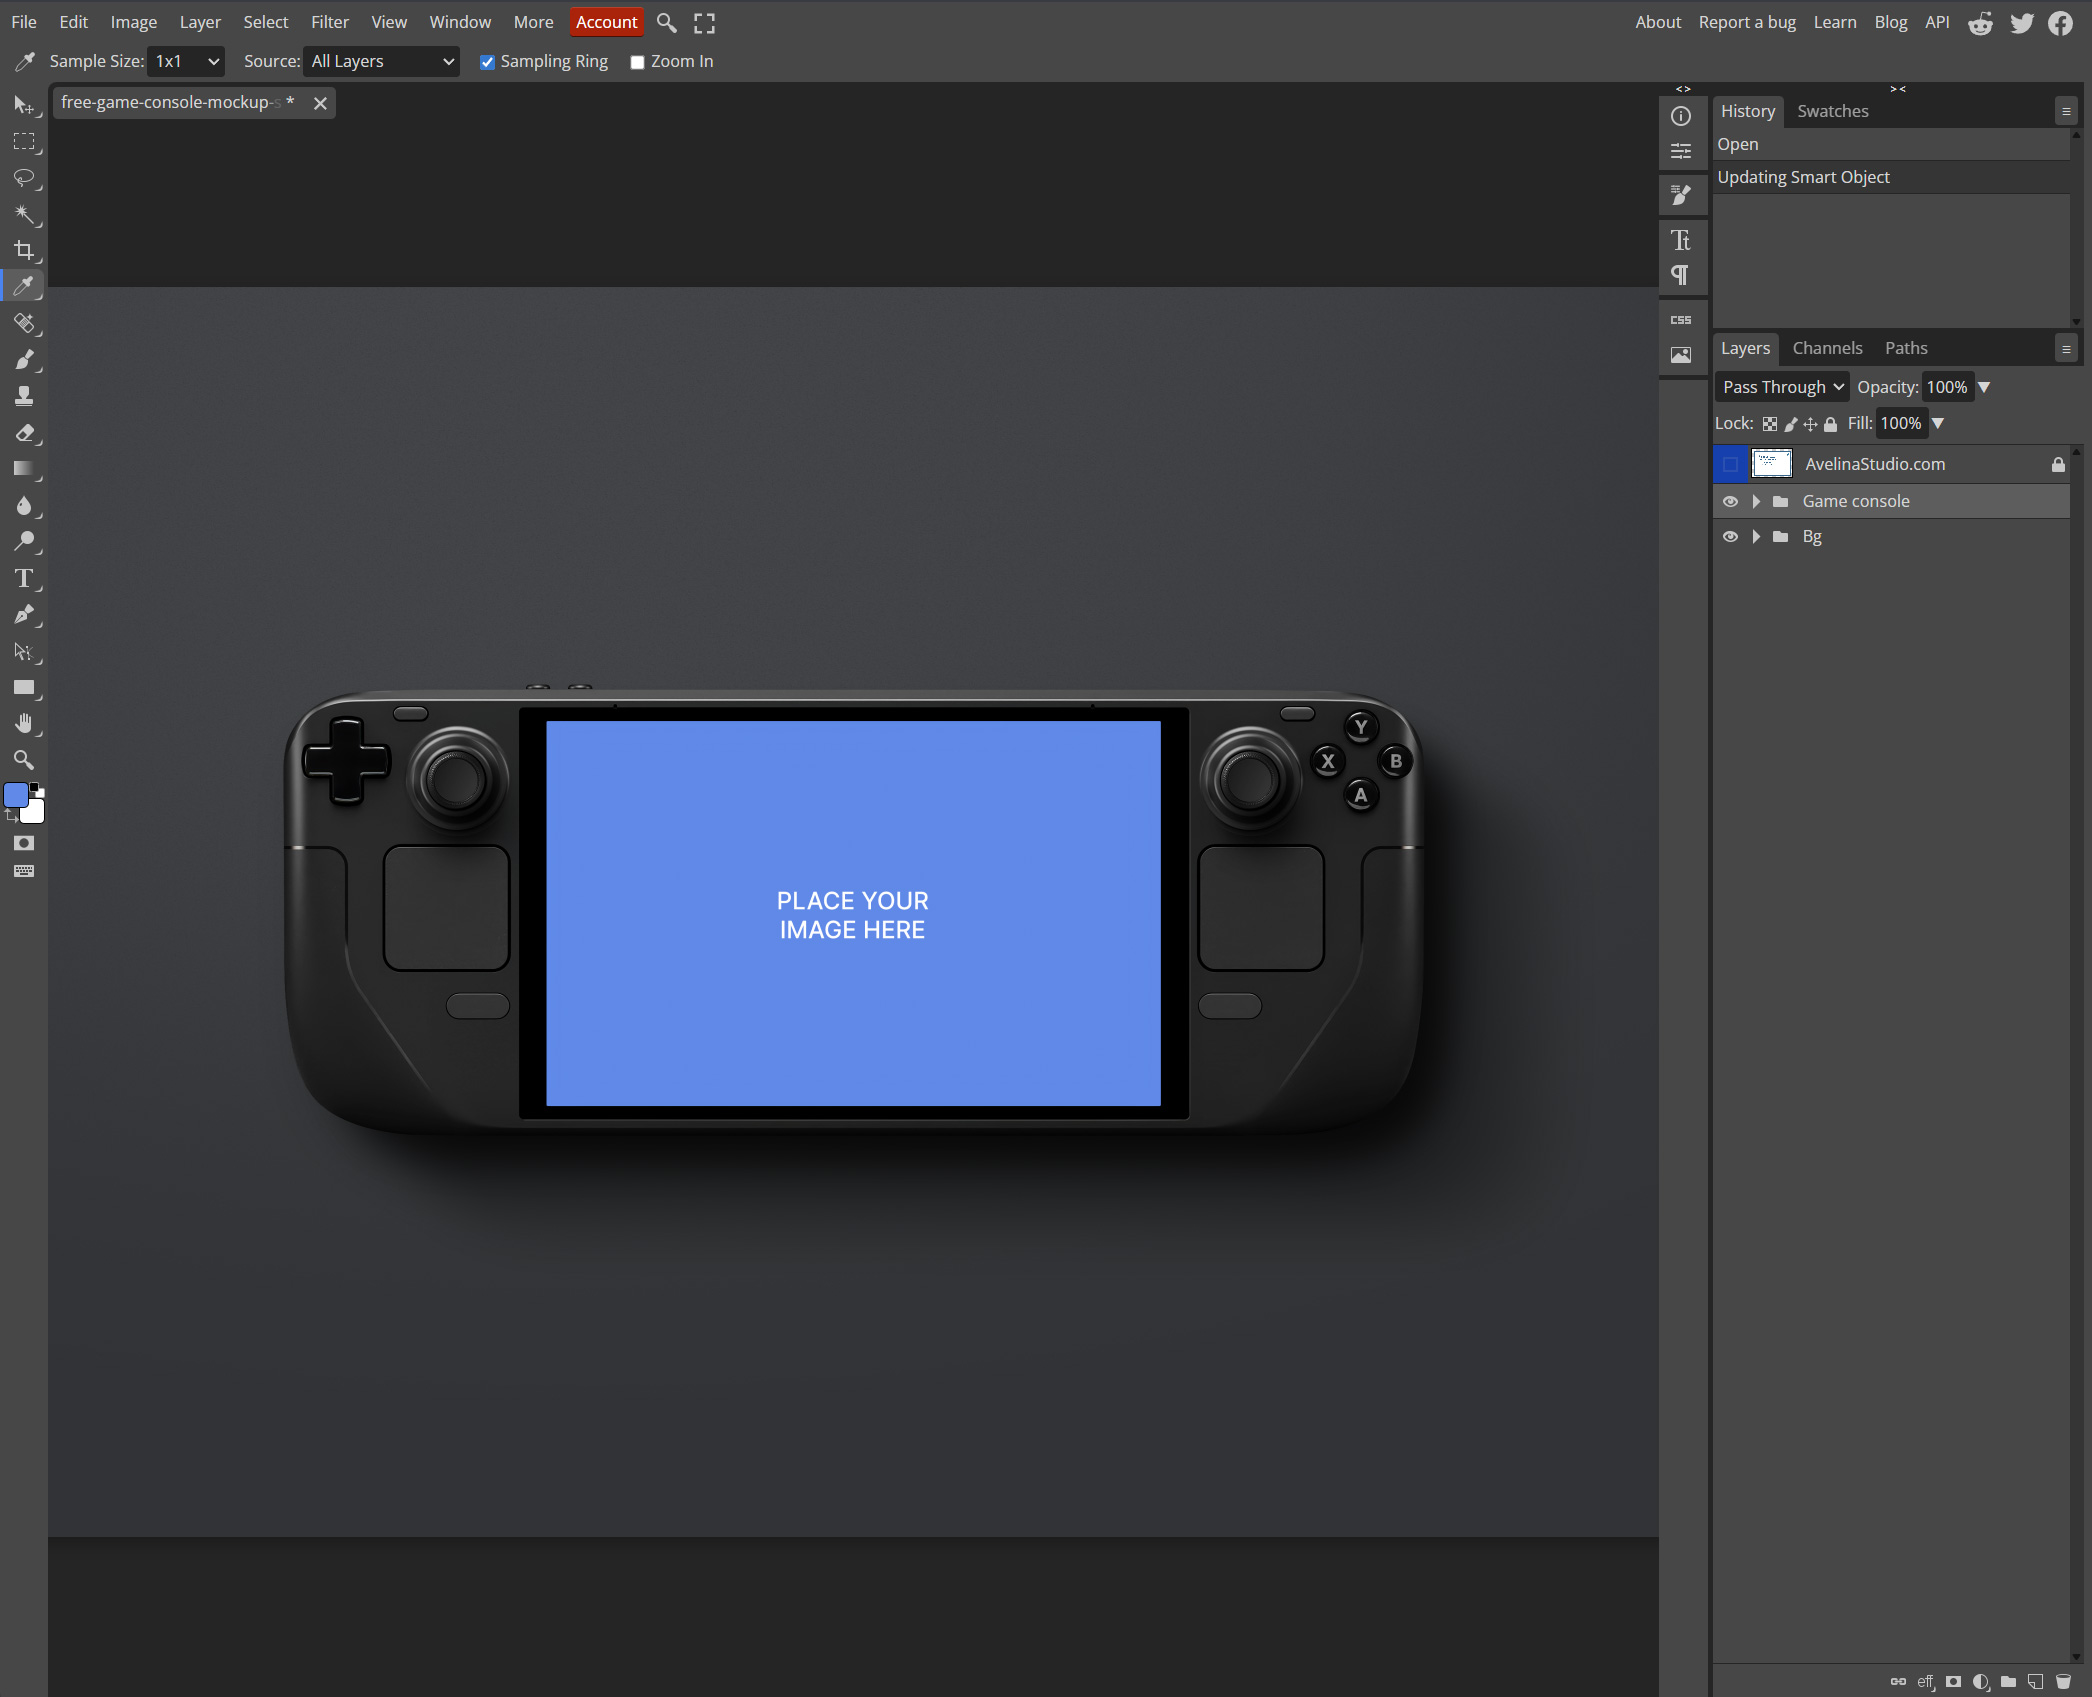
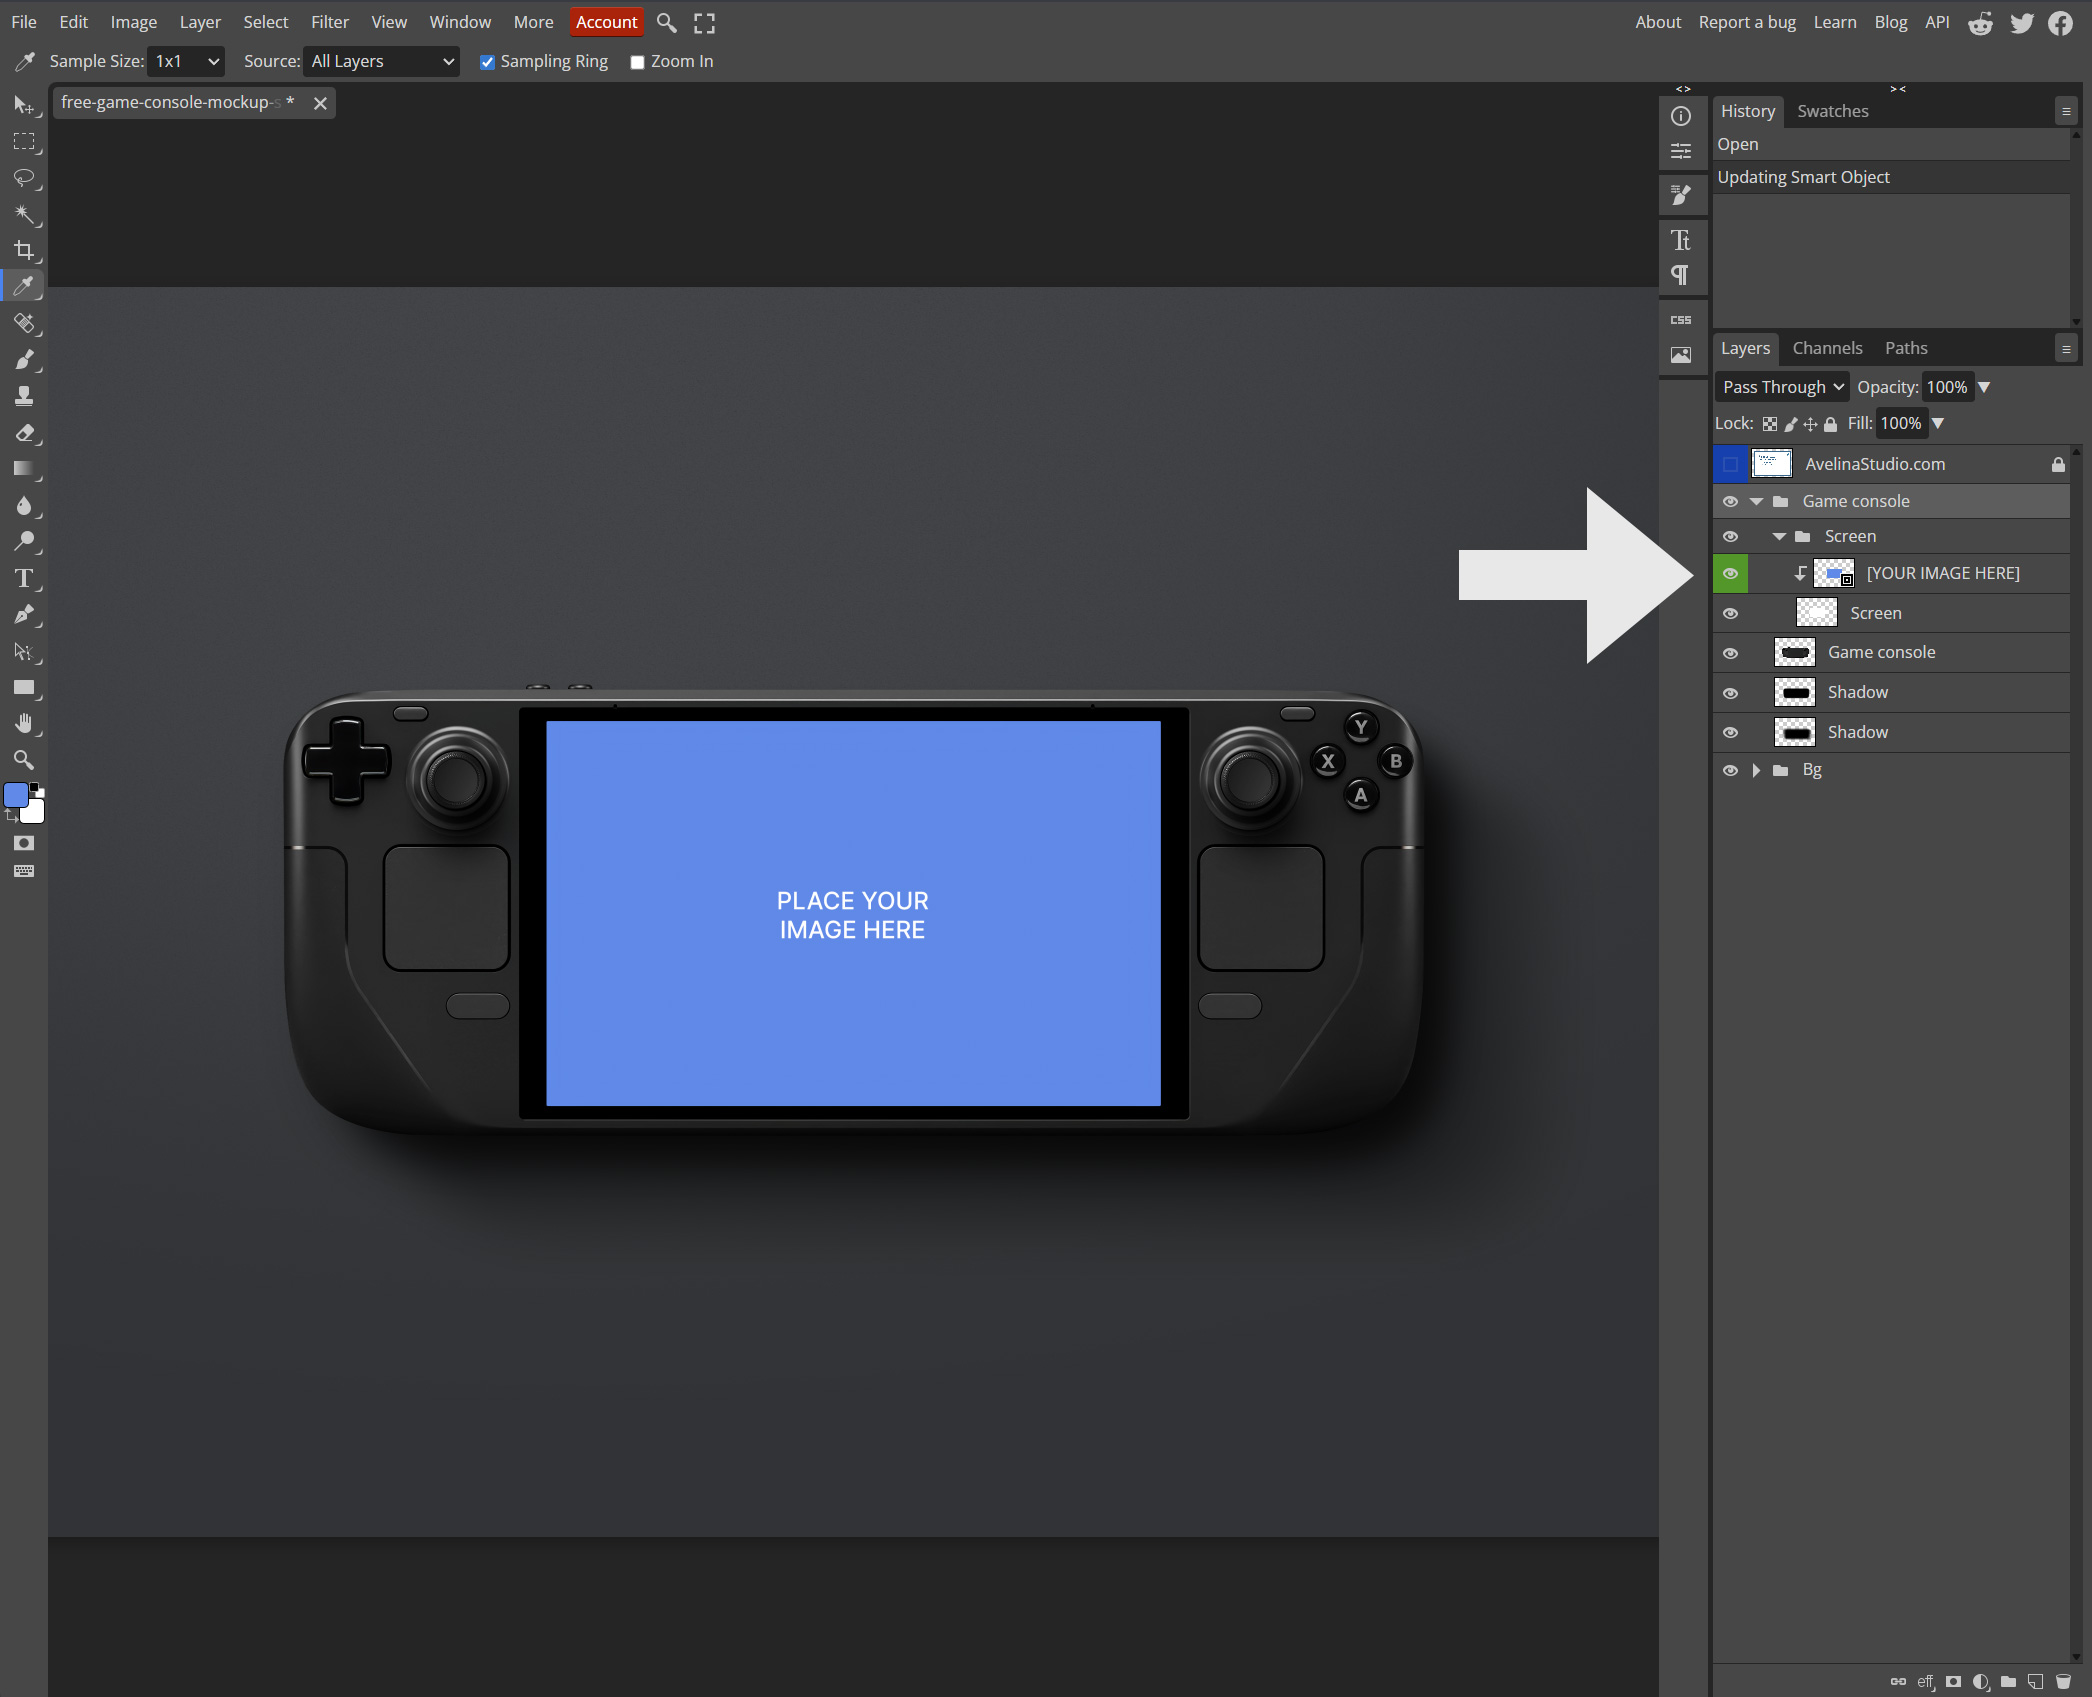
Step 02: Edit the Smart Object
In the Layers panel, locate the layer named “YOUR IMAGE HERE”. Double-click the thumbnail and it will open in a new tab.
Now place your own design into this Smart Object. You can drag and drop your artwork, scale and position it, then confirm with Enter. When you’re happy with the placement, go to File > Save to update the Smart Object. After saving, simply close this tab.
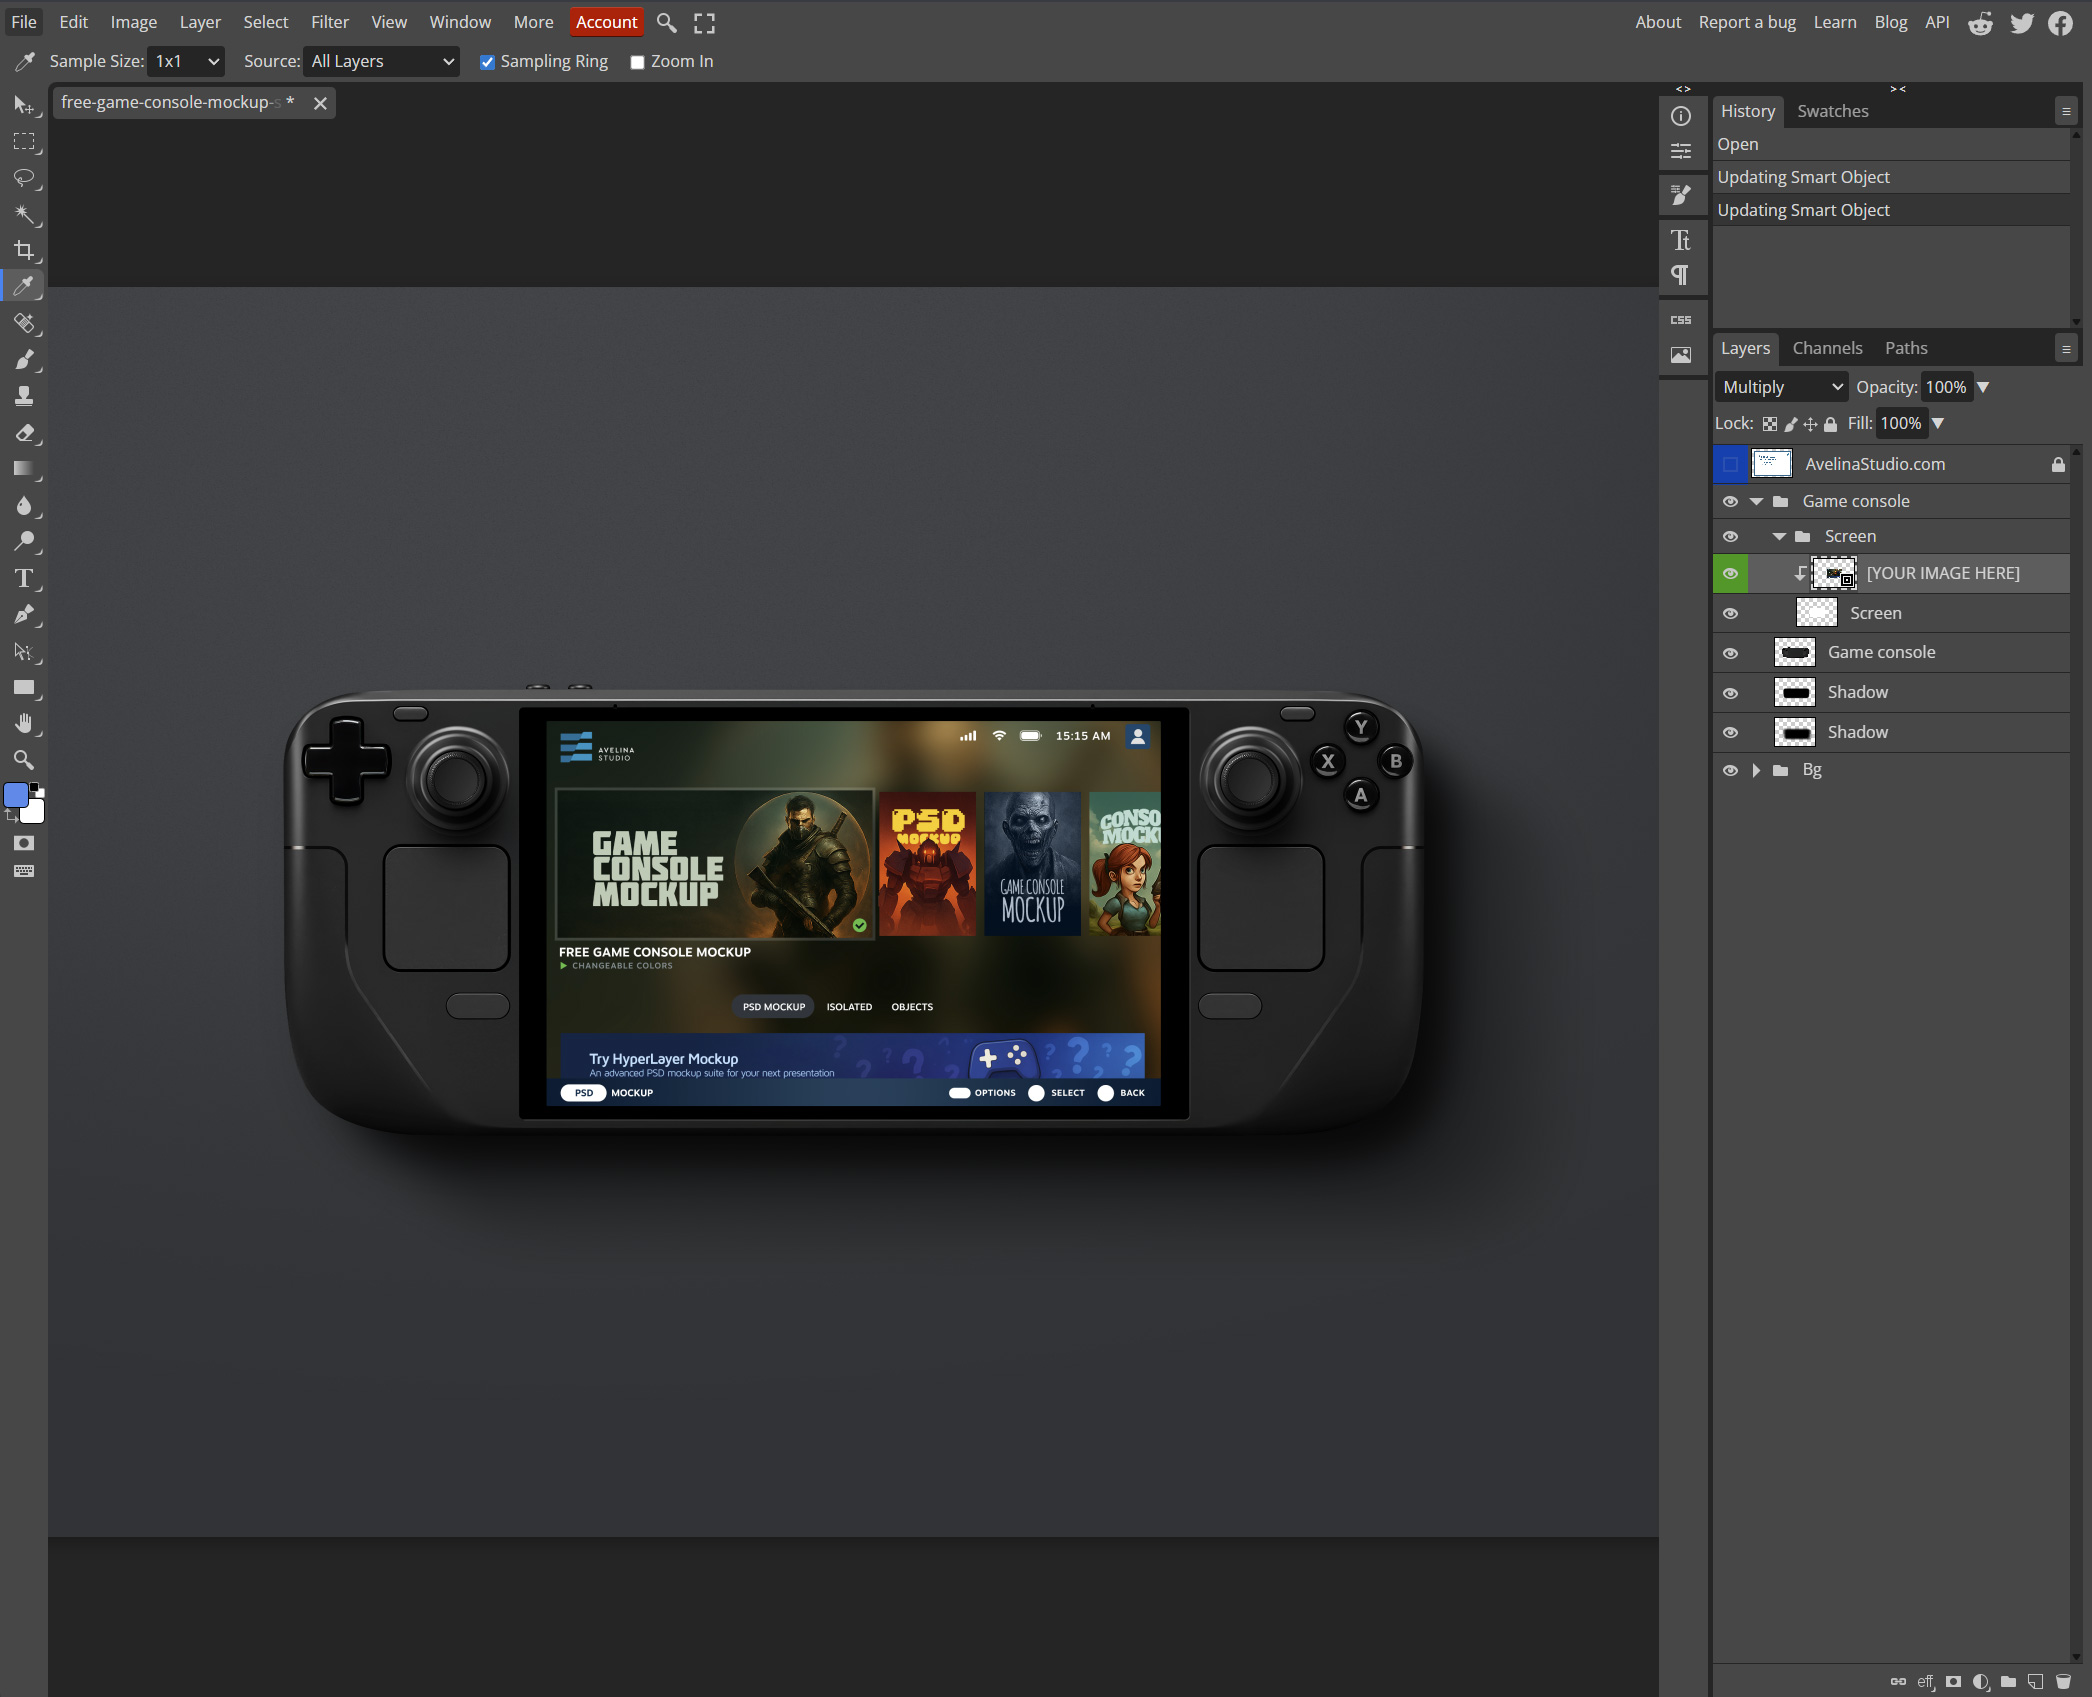
Step 03: See your design applied
Return to the original mockup tab in Photopea. Your design will now appear on the mockup with realistic perspective, lights and shadows.
Step 04: Export your mockup
If you’d like to keep an editable version, save the file as .psd. To create your final mockup image, go to File > Export As and choose .jpg for standard images or .png.
> Please Note:
This is just the basic workflow. Almost all Avelina Studio mockups also include extra layers for colors, lights and shadows, so you can customize every detail inside Photopea just like in Photoshop.